
Maybe that is a bit of an overdramatization…but we do have several leaks that recently started. The fun part is trying to determine the source without tearing the boat apart. But sometimes you just have to tear it apart to put it back together.
Same problem causing multiple leaks. We were seeing leaks at each corner of the boat. Originally, we thought it was caused by the seam between the deck and hull. Then we thought it was where the stanchions meet the deck. Next, we checked the drain area where our lines originate. Ah ha! There it is. The angled 90° drain, that connects to the drain hose, needs to be replaced in all 4 corners.
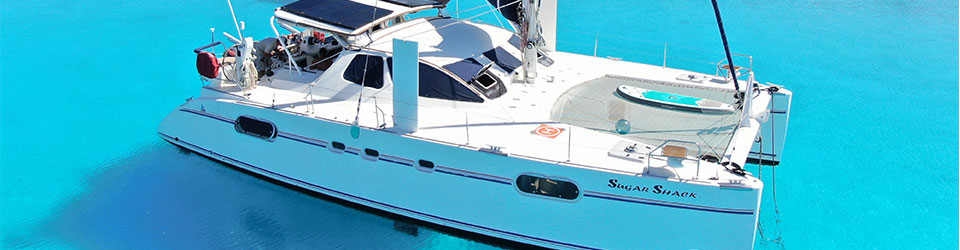
It took Matt months to find the right size angled drain that fit the 19mm hose and had a 31mm drain opening. He ordered 4 and replaced the largest leak at the starboard bow first while we were in Fiji. Being in New Zealand during this unusual rainy season has moved the leak project up to the front.
The top white drain is the original defective drain. The larger white drain is the replacement that works in the two bow locations. Unfortunately, the larger white drains are too tall for the aft cabin drains so we went on a hunting expedition to find new ones. We tracked two new drains down in the South Island and had them shipped up to us in the North island (grey drain).

Both angled drains are leaking in the back and both are over beds. The one in the master leaks right over Matt’s head and the one over the office leaks over the corner bed. Fun! These two locations require us to tear down the ceiling panel to access the drain.
Master Cabin Leaks
We removed two of our ceiling panels and found three leaks. The main leak from the drain, then another leak coming in from a new solar cable we installed a few years ago (they didn’t seal it properly) and the third leak was coming from the ignition panel. The good news is we could access all of them.

Cyclone Hale
Just after we removed all ceiling panels, we learned a cyclone was coming. This is good and bad news. Good in that we will see exactly where the leaks are coming from, but bad because it’s a cyclone for goodness sake!

For those of you who don’t read weather systems, here is another visual of the flooding.

Cyclone Hale changed directions a little bit and ended up over Coromandel. Basically, we received a lot of rain and winds of about 40kts. We are pretty protected in the marina so we felt relatively certain we would be ok. Dressed in our foulies.

But other parts of New Zealand (like Coromandel) did not fair as well. Once Cyclone Hale passed, we resumed our leaky project.
We replaced the angled drain and put epoxy all around it. We then resealed the solar cable and we resealed the ignition panel. All three leaks in the starboard master cabin are considered done!
Port Office Cabin
The port office cabin leak is the same leak as the master bedroom cabin Ah ha! There it is. The 90° angled drain. So, we removed more ceiling panels to see the source.
Wowza, evidently there has been a slow leak here for awhile as it was pretty moldy and gross. Matt had to break away the thickened epoxy (without damaging the hoses). It was a dirty job that is for sure. Once we replaced the drain, resealed everything back up and called this project done.

But don’t let me over simplify everything. These projects took months to complete. Partly because we had to wait for spare parts or wait for things to dry (as it often rained in Whangarei). But mostly because these were all really huge jobs.
Also, the removal and replacement of the ceiling panels is a massive job. It takes great patience to remove a single panel (to ensure you don’t damage it) so we can use it as a pattern to make the new ones. Then it takes several days to remove all of the old glue and glue residue from the ceiling so that you can adhere the new panel. The glue and glue residue all have to be removed if we plan to reuse panel.

I thought about doing a blog post on the ceiling panels as it is such a huge job but man that would be boring! This is what our poor forward cabin looks like as we do all the work in the office.

Cyclone Gabriel
Seriously, we came to New Zealand because it is “out of the cyclone zone” but here we are – again faced with a much larger cyclone aiming for the north tip of the north island – right where we are located. Evidently, this is the fist cyclone to actually hit land (cyclone skirted around NZ, but never technically hit land). The bottom image is the wind speed that Matt tracked during the cyclone. Topped at 55kts which is the worst winds we have ever seen.

Everything flooded all around us with the tides rising over 3 meters and covering the streets, walkways, and pontoons.

Roads were shut down with damage, collapse, landslides and fallen trees. A week after the cyclone over 400 people are unaccounted for and the death toll is climbing. We were lucky in that we had no damage, but Matt was well prepared. We removed anything that could be ripped off by the winds and stowed it all inside.
Events from this blog occurred in mid-January 2023. Our blog posts run 6-8 weeks behind actual events. In our last blog post we rebuilt the windlass – do you know what that is?


