
Matt and I were enjoying a lovely sail from the Marshall Islands to Kiribati. About 55 hours into our 63 hour passage we noticed an issue with our starboard steering. Yikes! Our engine throttles are on starboard so we use starboard as our main helm and port as a “back up.”
The good news is that auto pilot is working ok and the port steering is working ok. We were able to safely navigate through the Kiribati pass to the anchorage. Matt jumped in the hole as soon as the engine cooled off.
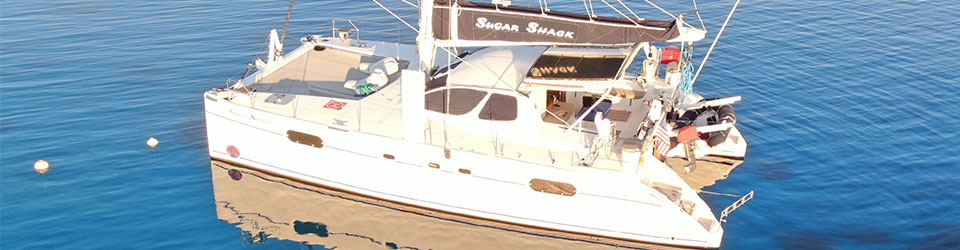
What Type of Steering is on Sugar Shack
There are multiple types of steering on yachts: mechanical, hydraulic, electric, and electric hydraulic. We have mechanical on our boat.
How does mechanical steering work?
The mechanical system is usually made up of a Rack-And-Pinion or Worm-And-Sector steering gear that is physically connected to the helm. When the steering wheel is rotated, this mechanical system also turns. These mechanical systems, in turn, drive a pitman arm that physically turns the wheels of the boat.
Which is the same as “Christine speak”
When you turn the starboard wheel it turns the “Steering Gear Box”. The steering gear box then turns the “Arm” which is also connected to the port steering box. That in turn rotates our port and starboard “Rudder Arms” which turns the rudders which turns the boat. It works the opposite way as well when you turn the port helm it turns the starboard steering.

I am sure there are more technical terms for this system, but hopefully I described it well enough for you to follow along.

What Happened?
Steering Gear Box: We are not 100% sure what happened to the starboard steering box. It could be age and regular wear and tear. It also could be something else??? We tie off the wheel while at anchor to reduce movement of the boat. Could this have been a problem??
Matt disengaged the steering box after a lot of struggle. It is super heavy and located in an awkward position.

What we discovered was the following:
- Water appears to have dripped from the either the compass or a seam into the gear box. We will have to reseal the helm.
- The bearings were shot and the balls were floating around
- A lot of gunk was in and around the gears
- One section of the gears was stripped

Temporary Fix
There is nothing we can do in Kiribati (where we are now) or Tuvalu (where we are going next). But we can disconnect the starboard steering box so that we don’t do any more damage by using the port equipment.
Matt ordered (8) new bearings and (4) new seals. It will take approximately 6-8 weeks to get to us from Germany.
What Else Happened?
A few days into our passage from Kiribati to Tuvalu we discovered another problem. The wind had dropped to 5kts so we decided to drop the sails and motor. Matt jumped in the engine room and found a major problem. The port rudder arm (tie rod) was broken at the attachment point.
You have got to be kidding!!!
We don’t know what happened, but the only way to fix it is to weld the stainless back together. Obviously we can’t do that while underway. Matt lashed the arm down to prevent further damage.

How Are We Able to Steer?
Auto pilot is located on the starboard helm. He has been running great! Auto turns the port gear box which turns the arm connecting the starboard and port helms. The arm then turns the starboard tie rod / rudder arm which turns the starboard rudder.
Basically bypassing the two broken parts on both starboard and port. Thank goodness for redundancy on a catamaran!
Repairs
There is not much we can do until we get to Savusavu, Fiji. So, we are being super gentle with the boat and her steering. Good news we have very light winds and moderate seas so there is not a lot of pressure on Auto Pilot or the rudders.
Stay tuned for repairs…
Our blog posts run 8-10 weeks behind actual live events. We were under passage from the Marshall Islands to Kiribati, then Tuvalu, and then Fiji in mid to late April.
Be sure to read the good news about this passage here.


