
Raiatea Carenage has a well-known reputation for good fiberglass work. Fiberglass work is tricky as you have to ensure you don’t compromise the integrity of the boat (our hull). Plus, you want it to be visually pleasing. Try matching 20-year-old gel coat!
We stopped by the yard a week before our haul out date. The owner, Dominique wanted to see the damage to determine the amount of work it would require. The dent occurred in Hao during a torrential storm (see “Disaster Strikes Maramu” blog post). The dent and scratches are about 1.5 meters long, 1 meter tall, and 20-30 cm deep. It does not penetrate through and there is no hole! Thank goodness!

The work began bright and early on Tuesday morning. First the owner, Dominique and his worker, Teina tapped the boat. They are looking for the bulk head and any possible delamination.

Dominique and Tiana
Then the heart wrenching act of taking a grinder to your boat! It is horrible to watch someone grind away the gel coat and fiberglass, but it has to be done.

Grinding down the fiberglass
Layering the fiberglass
Next, Teina mixes the resign and hardener to make epoxy. It’s all art and science.
Starting with small pieces of fiberglass, Teina places it in the center of the area (the deepest section). He layers concentric circles to spread the load. More and more layers, each one gradually bigger than the last. Matt was impressed with the number of layers of fiberglass. He assumed they’d put 4-5 layers but instead they put 12-13 layers.

Layering the fiberglass
Then he sands it down to ensure it is level with the rest of the boat.
Then the hard part begins. Trying to color match 20-year-old gel coat. Poor thing, tried 5/6 mixes before telling me “no good.” He walked away to make more mix. Try and try again. I think no matter how close you get; it will still look like a patch. The unfortunate thing is that it is right next to a previous patch from an incident that occurred in Trinidad many moons ago. Can you tell the difference between the two whites in the photo below?

Gel coat application
A light sand, more gel coat, light sand more gel coat. Constantly trying to match the 20-year-old color. It is artwork, truly. You can see (1st photo) the repair). the 2nd photo shows color disparity, the rest show them trying to fix with gel coat.

Perfecting the Work
They worked on it for several days. Ensuring the small dents and scratches were filled in, the entire surface smooth, and the color matches as closely as possible. They worked tirelessly perfecting it each time.
Teina is wet sanding and smoothing the surface, then more gel coat. I swear this man is so patient and persistent!

Usually the new paint absorbs the UV differently than the old paint. But for now it looks pretty darn good.

Protecting the Shack
They needed to paint the monohull in front of us so we watched them resurrect a huge tarp to protect Sugar Shack. It was so funny! They tied one end to the giant ferry to our right (the Aremiti) and then they tied the other end to the fork lift and raised it up to cover our boat.

A huge dinghy pulled in to get serviced and she was almost as big and certainly way more expensive than our boat.

Out for a Walk
There is not much to do on the yard when you have workers all over the boat. I can write the blog and we can do small projects (like the prop work, lazy jacks), but for the most part we are antsy. We go for walks, but there is nothing around the yard. The closest magasin (market) is over a mile away. But we head there anyway because why not? We did pass this beautiful little church on the way. Look at the pretty green mountains in the background.

Prop Work
Matt worked on the props while the yard was working on the fiberglass work. We needed to remove all the barnacles and growth from the props and change the zincs. So much easier to do this on the hard than in the water. (See blog post “Underwater Mechanic”)

He changed the small zincs on both props and we are good to go for several more months!
Mast head Work
Matt wanted to do three things at the top of the mast.
- Tighten and adjust the windex
- Test the AIS antenna which was acting weird
- Measure the top lazy jack line that is frayed
We set up the climbing harness and a safety line and up he goes. It took 5 trips up the 20 meter mast. Keep in mind that the boat is about 8 meters off the ground so he is really, really high up.
He was able to fix the windex, tried several tests on the AIS antenna and measured the lazy jacks.
It took Matt a day and a half to recreate our lazy jacks that had frayed. Originally he was only going to do the top portion, but he ended up replacing all of them. Mission complete! The lazy jacks hold the sail bag which holds the main sail.

This and That
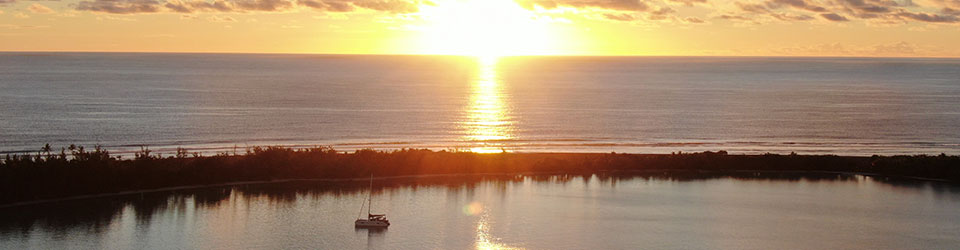
We are usually up early to catch the sunrise. It is pretty even when you are at the yard.

Check in on our next blog (part III) as we do a full wash/wax job and get new bottom paint. If you missed part I of this series, check out “Raiatea Carenage Haul Out.”
The events of this blog post occurred on 15 September 2020. The blog post are 4-6 weeks behind our adventures.


