
Time to get the boat ready for many projects which means taking her back to the bare bones which is a very dirty job.
Preparing Our Bottom
The first thing we did was pressure wash or waterblast the bottom of the boat. This knocks off the first layer of muck that might have accumulated since our last cleaning. Then the sanding begins and this is a dirty job!
Norsand Boatyard assigned Jamie, a 19 year old laborer to the task. He worked very hard removing our bottom paint over 4.5 days. Lucky for him we only had 2 layers of bottom paint and then the primer to remove. Had we done this 3 years ago he would have had to get through 20 years of bottom paint, layered over and over itself. It takes Jamie about one full day to do half of the hull.

Jamie sands the top layer of black, then blue, then the army green barrier coat to get to the white/grey shown below.

Not a Good Sign
Two years ago we sanded down the bottom to the original barrier coat. However, this time we sanded down further. We have never sanded down this far and several things shocked and dismayed us!
The first thing we discovered was that we have a few small areas on each bow with osmosis! Basically water engress which is never a good thing. We will certainly have to address this and repair it before we apply the new primer for the coppercoat.

Repairs to the Bones
In order to properly fix the osmosis areas Ben comes in to grind the fiberglass back to a healthy state. I absolutely hated to see him grind out the fiberglass, but it is what you have to do.

Ben grinds out every spot, hairline crack, and problem area. Then meticulously fills them, sands them, and fills and sands them again. Because our boat was made with vinyl luster that is what he used to fill all the areas in (as opposed to epoxy).

Filler is added to all of the areas and then sanded down. In some instances he had to go back multiple times to add more filler in order to get the proper results.

Losing Our Minds
For the past 13 years Matt and I have been baffled by the starboard waterline. For some reason, the waterline on the inside of the starboard hull was always lower which would indicate there is too much weight on that side of the boat. So, we were constantly moving things to the center of the boat or to the port side to raise the water line.
Little did we know that the boat was not unevenly weighted down. The waterline was way off! In fact it was 3-4″ shorter than its sister side! What the heck? So we borrow a digital laser level from the yard. Matt sets it up where the front of the bow and that back of the boat are even and then draws a line between the two.

It is rather remarkable how uneven both sides are. We think the original owner used a string and when pulled tight dips in the center. This would explain how the bow and the stern were even but the center dips into a low “U.” The bottom two photos show you the exact same spot on port and starboard — see the difference?

The good news is it can easily be fixed. We will mark the new waterline and sand the gelcoat to match the bottom.
Removing the Daggerboards
In the 13 years that we have owned Sugar Shack we have never removed our dagger boards. We love to use them, but why remove them? Well for one thing they are stupid expensive, like $8000 euro each! But we needed to sand off the bottom paint and apply our coppercoat – so out they came.
We used the spin halyard to hoist them and with Matt on the ground and me on the wench we slowly got each board to the ground. These suckers are HEAVY and huge! They measured 15′ tall.

If you dig deep enough you will find more problems. We found a few issues with the dagger board casings. We stuck our faces below the hole and looked up and to our surprise we found osmosis inside. Unfortunately there is not much we can do as it is a very tiny and narrow space prohibiting tools from getting up in there. We do make small repairs at the opening (right photo) as far up as we can go.

On the port rudder shaft there are two small repairs that we have to make. One is a crack at the opening of the casing (top photo) and the other is a bubble that sticks out enough to mark the shaft.

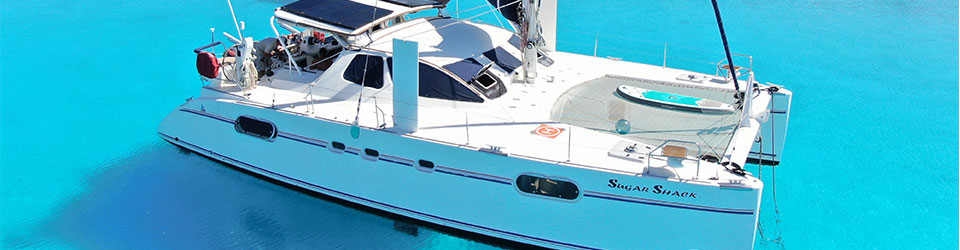
In upcoming blog posts we strip all of the graphics (stripes, logos, designs) off the boat. The cover photo is when Sugar Shack is truly bare bones.
Frankly, I am surprised at all that we found once we took our boat down to the bare bones. It was a truly dirty job in my ways than one, but certainly worth it to get her back to tip top shape. Now we are ready to being the coppercoat process.
Our blog posts run 10-12 weeks behind actual live events. The events in this blog post occured in early November. In our last blog we share what Life is Like on the Hard.