After months of planning, two test fits, and countless discussions, we were ready to install our new solar arch.
Be sure to read Part I “Solar Arch Design & Fitting” before you read this blog post.
After our fitting, Phil, our stainless fabricator, took our partially made arch back to his workshop. He had another 2 weeks of work to do including:
- installing the “ladders” on both sides of the arch
- connecting the truss to the arch
- adding support tubes
- making all of the access points for our lights, antennae’s, and equipment
- create the mounting brackets
Once he was done with his work, Phil will sanded and polished the entire piece.
Shine Like a Diamond
The next step was electro polishing at Spiraweld in Auckland. This was tricky as the arch is so large it makes driving long distances at fast speeds difficult.
What is electropolishing?
It is an electrochemical process that removes small peaks and burrs from the surface of the metal part generally improving its smoothness and giving it a shiny appearance. The process is a form of electrolysis, the acid electrolyte acting as a conduit which removes metal ions from the surface of the stainless steel part.
Electropolishing will enhance corrosion resistance and will make it look bright, shiny and ultraclean. It will also prevent corrosion which will reduce our cleaning.
The Damage
Spiraweld had asked us to cut the arch in half to prevent damage to it. We knew this might be a possibility but we had really hoped they could dip it as one piece.
Phil, our fabricator was there and cut it in half to make it easier to dip in the bins. So imagine our surprise when we got a call that the arch was dropped and damaged!
Evidently, the leg of the arch hit the side of the bin in multiple places. For F@CK sake! We had been so careful for the past few months in transport.
I know it does not look like much the tube is 75 mil in diameter and 1.6mm thick. It is big, but light. Dents like this will compromise the strength of the leg and cannot just be bumped out and polished.
Phil ended up cutting it off and sleeved it to make it stronger than the original. Seriously more time, more money. Unfortunately, we will always be able to see the “wave” in the stainless. It is impossible to get it out completely without completely redoing the entire leg.

To add insult to injury, we had another problem. Phil accidentally shattered the bottom part of one panel when he was attaching it to its plate. This has not been a good few days for us.
INSTALLATION DAY
The BIG day has arrived! We were super anxious for today after 4 missed installation dates and all of the damage. Phil arrived at 5:15am and we got to work. We had to drill holes on two of the four remaining panels. Great way to amp up the stress levels as you put a drill close to your brand new glass solar panels!
Next we began running mouse lines to help get some of the wires through. It is super tricky to run the lines as there are 90 degree turns and false holes to avoid.

Culham Engineering sent the crane promptly at 0800. By 8:20am we had our baby flying above the masts. 
We have two people on each side with lines controlling the movement as the crane lifts it above our mast and behind our boat.

We use a ratchet line to pull the arch together (side to side). We test fit it first, mark the boat, pull the arch back and start drilling holes.
It is horrible to watch someone drill holes into your boat – but what can you do?

Conclusion
Nobody got hurt, the boat was not damaged and the arch is somewhat installed. Good.
It took 3.5 hours with the crane and an additional 2 hours with Phil. We had the bolts in but were waiting for proper backing plates to permanently secure the bolts.
Issue: We thought the front legs would bolt into the engine compartments (behind the bulk head). But to our surprise the bolts split the bulk head. So, one bolt was inside the engine room and the other bolt was on the other side of the bulk head. The only way to reach that bolt is to remove the ceiling panels from the master cabin and office.
Yet, another project.

It took us 4 additional days to fabricate new backing plates, get new (shorter) bolts for the ones in front of the bulk head, make 2 new vertical legs (for additional support), and use sika flex to secure everything together.
We still have the ratchet lines and our topping lift attached to the arch to secure it. These remained in place until everything we properly assembled.
It took us an additional 2 weeks to complete the arch. We had hire a scissor lift to finish running all of the wires and install of the additional equipment.
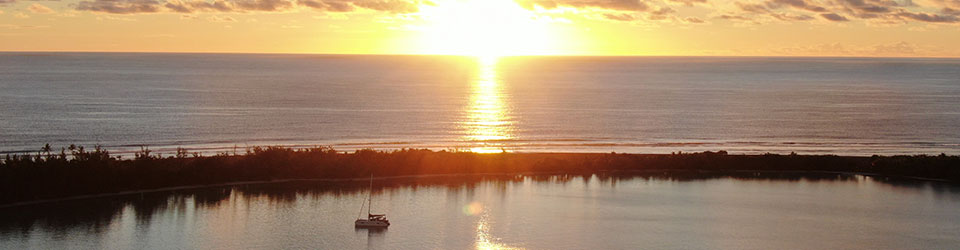
The solar arch installed while at anchor.
Matt designed it so well. He followed the same lines of the bimini legs and the same curve of the bimini to make them two mimic eachother.

Contacts
Stainless Fabricator: Phil Waddell hardout98@icloud.com and his wife Joy Waddell joyw2@icloud.com.
Phil is NOT interested in building another solar arch like ours (it was too big). However, he is open to smaller arches and other stainless fabrication.
Our blog posts run 8-10 weeks behind actual live events.
Check out our last blog post on the solar arch design and fitting.
We started working with Phil in early November and had the fitting on 16 December 2025.
Like this:
Like Loading...