
We left Roberton Island and headed 4nm to Urupukapuka Island. Matt and I knew a lot of boats anchored in this area and had scheduled a hike and luncheon with everyone.
We had a lovely group of people on our 4nm hike. Beth and Dave (Warrior), Jim and Pam (Roam), and Joanne and Scott (Fundango).
There are loads of trails around Urupukapuka. We decided to take the red track all around the island which is a medium grade track.
It was a perfect sunny day with cloud cover. Not too hot and not too cold.

This is an absolutely stunning hike.
Every turn offered a different gorgeous view. Each time we were convinced the view could not get any better and yet it did!
The colors in the sky against the rich browns and greens on the hillside were lovely.

The trail was easy to follow and well maintained.

And we encounter more amazing views.
I kept picturing a beautiful house where we stood overlooking this view!

Joanne and Scott peeled off after the first hour to watch the NFL playoffs. But the rest of us finished our loop with pride.

We stopped in at Otehei Bay Cafe for some cold beers and a snack before heading back to the boat.
Urupukapuka
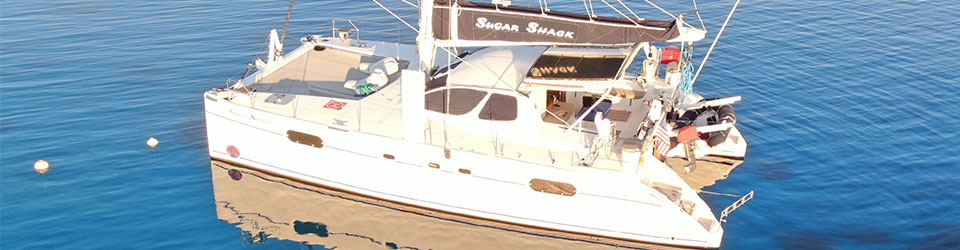
Our neighbors, “Roam” were anchored next to us.
I could not resist taking a photo of our two beautiful Catana Catamarans – sister ships.
 Later that night we had everyone over for happy hour.
Below we have Charlie (Purr), Pam (Roam), Joanne (Fundango), Dee and John (Go Baby Go), me, Jason, Matt, Jim (Roam), and Dave (Fundango). Such a great group of people.

We hiked the hillsides of Urupukapuka toward the end of May 2026.
Our blog posts run 6-8 weeks behind actual live events.


